Upload Sensor Data to Blynk
Uploading Data onto Blynk:
In this project we will learn how to upload Sensor data on to Blynk Application using Nodemcu
In this project we will learn how to upload Sensor data on to Blynk Application using Nodemcu
Step 1 & 2 : Setting up Arduino IDE for Nodemcu & Installing the Blynk Library:
Note: For setting up the above steps visit Step 1 & Step 2 @ https://tinyurl.com/ycd2tdjj
Step 3: Setting up the Blynk App:
- Open the Blynk app and you will get screen like this:
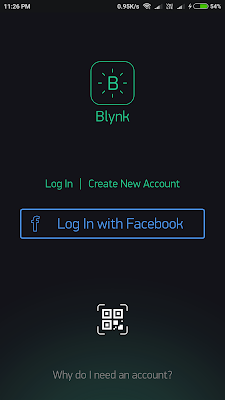
- Now go for creating a new account, or just login if you have one. After logging in you will get a page like this:

- Now click on New Project and then give project name, the board which you are using (in our case it is Nodemcu), and the mode which is used to connect to the internet (here it is Wi-Fi), and then create on Create:

- Now your project is created and an Authentication key will be generated and sent to your registered mail id, copy the same as it will be used in the code.
- Now we have to deploy a Display that will display the data received from Nodemcu . So first create on + icon on the project page and then add Value Display:

- After adding it will look something like this:

- Then tap on the Value display button and a new window will open, give the display a name and the pin no (Here we are assigning pin as Virtual Pin 0):

- After assigning go back and you will see something like this:


#include <ESP8266WiFi.h>
#include <BlynkSimpleEsp8266.h>
#define BLYNK_PRINT Serial
#define Sensor A0
int Sensor_value=0;
char auth[] = "YourAuthenciationKey";
char ssid[] = "YourNetworkName";
char pass[] = "YourPassword";
BlynkTimer timer;
void setup()
{
Serial.begin(9600);
Blynk.begin(auth, ssid, pass);
timer.setInterval(1000L, sendSensor);
}
void loop()
{
Blynk.run();
timer.run();
}
void sendSensor()
{
Sensor_value = analogRead(Sensor);
Blynk.virtualWrite(V0, Sensor_value);
}

Comments
Post a Comment